Table of contents
Introduction
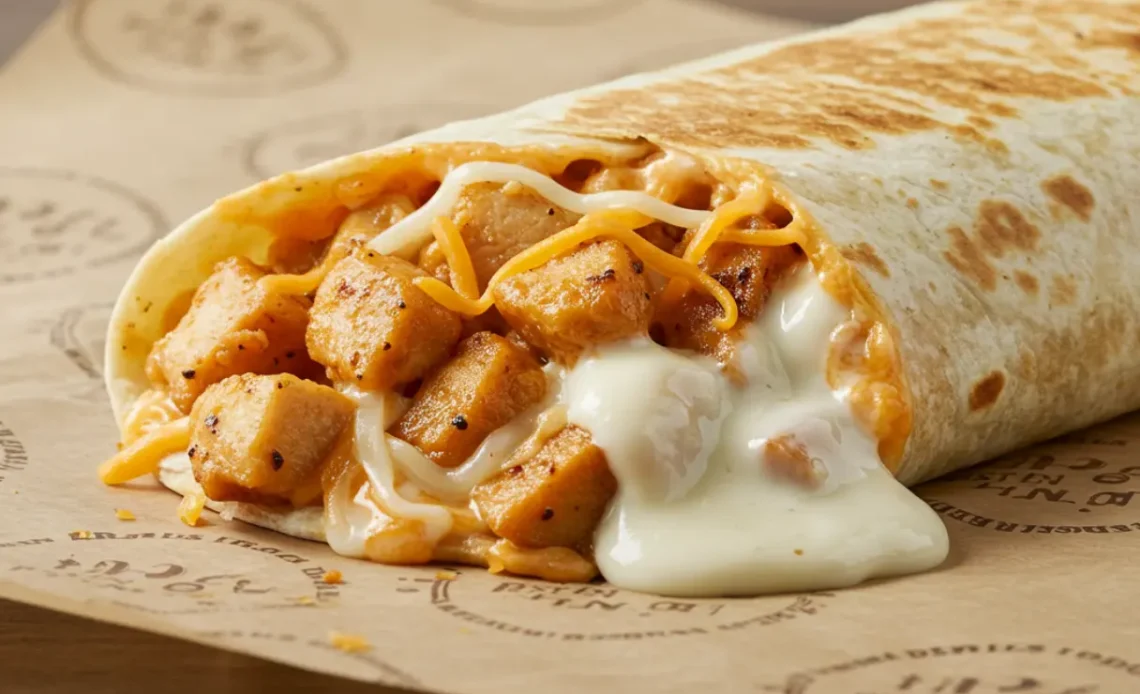
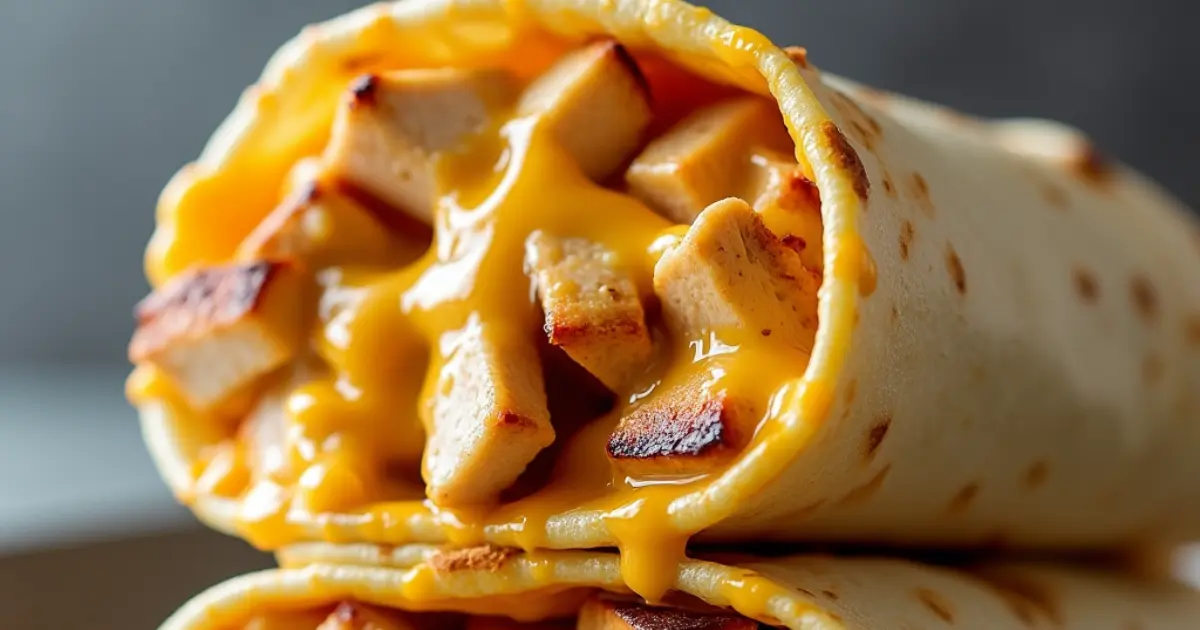
Looking for a meal that’s equal parts irresistible and effortless? Say hello to the Cheesy Garlic Chicken Wraps recipe, your new go-to for flavor-packed perfection. Bursting with melty cheese, aromatic garlic, and tender chicken, these wraps promise a symphony of taste in every bite. Whether you’re planning a casual lunch, an indulgent dinner, or a party platter that wows, this versatile dish has you covered. The best part? They’re as simple to make as they are to devour. Stick around, because we’ve got all the juicy details to help you craft wraps that will leave everyone asking for seconds!
Ingredients You’ll Need For Garlic Chicken Wrap
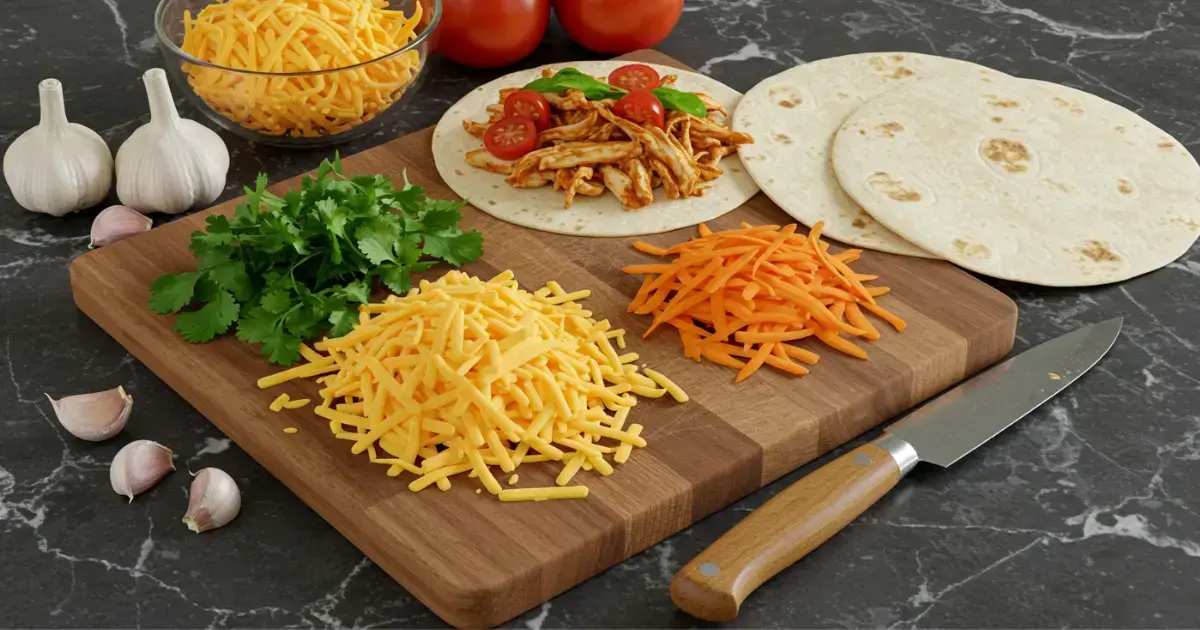
- For the chicken you’ll need juicy chicken breasts, freshly minced garlic, and a medley of spices like paprika, oregano, and a dash of chili flakes. These flavor-packed staples lay the foundation for your irresistible wraps.
- For the wrap assembly, grab soft, pliable tortillas as the perfect base for the Garlic Chicken Wrap. Add a generous layer of gooey cheese—think mozzarella or cheddar—for that melty goodness. Top it off with your favorite sauce, whether it’s tangy ranch, creamy garlic aioli, or a zesty chipotle mayo, to seal the deal!
- Boost up your Garlic Chicken Wraps with delightful optional add-ons. Toss in vibrant vegetables like crisp bell peppers or caramelized onions for extra crunch. Sprinkle fresh herbs such as basil or parsley for a burst of freshness. For a gourmet twist, consider adding sun-dried tomatoes or a drizzle of balsamic glaze.
Step-By-Step Instructions
Step 1: Marinating and Cooking the Chicken
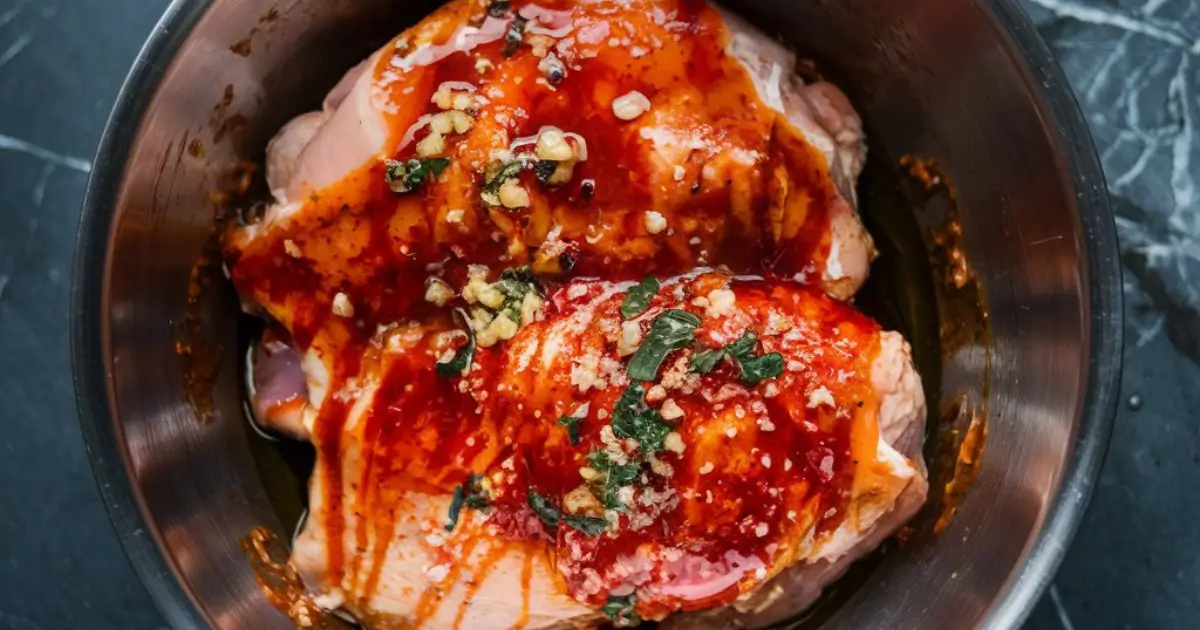
- Marination Magic: Combine minced garlic, paprika, oregano, olive oil, salt, and pepper. Let the chicken luxuriate in this aromatic blend for 30 minutes to soak up all the goodness.
Cooking Options:
- Pan-Sear: Sizzle it to golden perfection in a skillet.
- Grill: Add smoky charm with a quick grill session.
- Oven-Bake: Pop it in the oven for hands-free cooking brilliance.
Step 2: Assembling the Wraps
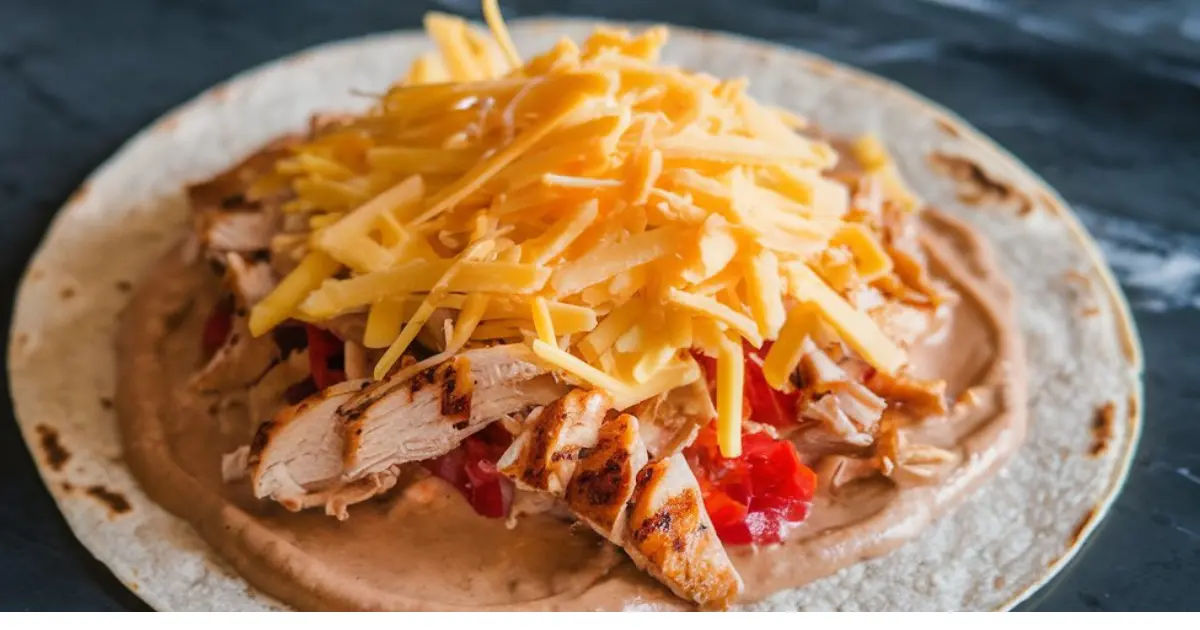
- Layer Like a Pro: Start with a tortilla base, spread your creamy sauce, add a generous helping of cheese, followed by the juicy, flavorful chicken. Top it off with optional veggies or herbs for that extra zing.
Step 3: Toasting or Baking the Wraps
- For Toasting: Heat a non-stick skillet over medium heat. Place the wrap seam-side down and toast until golden and melty, flipping gently to cook both sides.
- For Baking: Preheat the oven to 375°F (190°C). Arrange the wraps on a lined baking sheet and bake for 10-12 minutes until irresistibly crisp and gooey.
Tips for Success
- Even Cooking: To ensure your chicken is perfectly cooked, slice it into even pieces or use a meat mallet to flatten it. This helps it cook at the same rate, ensuring each bite is juicy and tender. Using a meat thermometer to check for an internal temperature of 165°F (74°C) guarantees that your chicken is cooked through without being overdone.
- Flavor Boosters: For added depth of flavor, sprinkle a pinch of smoked paprika or a touch of fresh lemon zest onto your chicken before cooking. These simple additions can turn an already tasty wrap into a memorable one.
- Diet-Friendly Substitutes: If you’re avoiding gluten, substitute regular wraps with gluten-free wraps made from rice flour or corn. Want a lighter option? Lettuce wraps can add a refreshing crunch. For dairy-free options, swap out cheese for a plant-based alternative that still melts beautifully.
Serving and Storage Tips
- When enjoying your Cheesy Garlic Chicken Wraps recipe, pair them with crisp, refreshing sides like a mixed green salad or golden, crunchy fries for the perfect balance. For a heartier meal, a warm bowl of creamy soup complements the wraps beautifully.
- To store leftovers, wrap them tightly in foil or plastic wrap and refrigerate for up to 2 days. For reheating, place in the oven at 350°F (175°C) for 10 minutes, ensuring they stay crisp while warming through.
Customization and Variations
- Take your Garlic Chicken wrap to new heights by getting creative with your ingredients. Swap the chicken for protein-packed tofu, tender shrimp, or even a hearty steak for a twist on flavor. For cheese lovers, try different options like sharp cheddar, creamy brie, or even a spicy pepper jack.
- Feeling adventurous with sauces? Add a tangy BBQ sauce, a zesty ranch, or a smoky chipotle mayo to elevate your wrap’s flavor profile. The options are limitless—let your taste buds embark on a flavorful adventure!
FAQs
Yes, you can absolutely prepare your Garlic Chicken wrap in advance! Assemble the wraps, but don’t toast or bake them yet. Wrap them tightly in foil or parchment paper and store them in the fridge for up to 24 hours. When you’re ready to eat, simply heat them in the oven at 350°F (175°C) for a crispy, melty finish. Perfect for busy days!
Making your Garlic Chicken wrap gluten-free is easy! Simply swap regular flour tortillas for gluten-free ones, widely available in stores. You can also ensure all sauces and seasonings are gluten-free by checking labels. With these simple swaps, you’ll enjoy a delicious and safe version of your favorite wrap!
For a perfectly crispy Garlic Chicken wrap, reheat in the oven at 350°F (175°C) for 10-15 minutes. This will restore the crispiness while keeping the inside warm and cheesy. Alternatively, you can use a skillet over medium heat, flipping occasionally to prevent burning and ensure even reheating.
Additional Ideas for Wrap Lovers
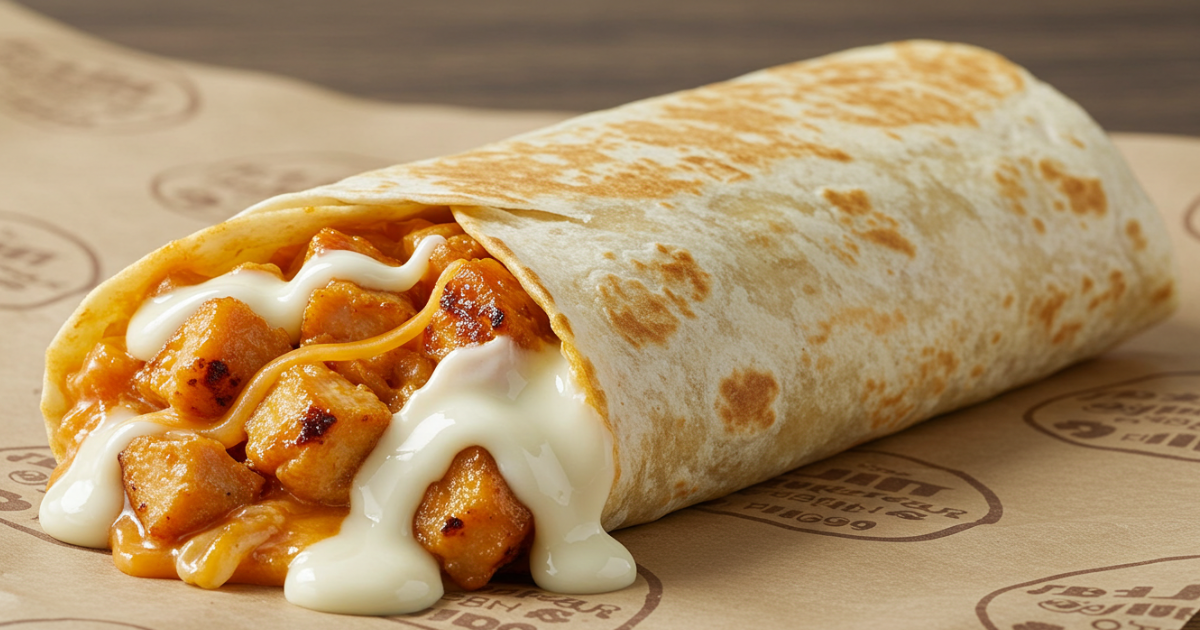
For those who love experimenting, why not try swapping the chicken in your Garlic Chicken wraps with BBQ chicken for a smoky twist or use fresh veggies for a lighter alternative with a Veggie Garlic Wrap? Don’t be afraid to get creative—mix different cheeses, sauces, or add a dash of spice! You can even add some fresh herbs or roasted veggies to make it your own. The possibilities are endless when it comes to crafting your perfect wrap.
More Chicken Recipe?
Conclusion
In conclusion, Garlic Chicken wraps recipe offer an irresistible combination of flavors, textures, and endless customization options. Whether you’re preparing them for a quick lunch or a family dinner, these wraps are sure to impress. So, get creative, experiment with ingredients, and enjoy this delicious, crowd-pleasing meal.
Print
Cheesy Garlic Chicken Wraps
- Total Time: 30 minutes
- Yield: 4 servings 1x
- Diet: Gluten Free
Description
Learn how to make delicious Cheesy Garlic Chicken Wraps, perfect for any meal. Easy, flavorful, and customizable for everyone to enjoy!
Ingredients
For the Chicken
2 large chicken breasts
3 cloves garlic, minced
1 teaspoon paprika
1 teaspoon oregano
½ teaspoon chili flakes (optional)
Salt and pepper to taste
2 tablespoons olive oil
For the Wraps
4 large tortillas
1 cup shredded mozzarella or cheddar cheese
2 tablespoons creamy garlic sauce or ranch dressing
Optional Add-ons
½ cup bell peppers, sliced
¼ cup caramelized onions
Fresh herbs (e.g., parsley, basil)
2 tablespoons sun-dried tomatoes, chopped
Balsamic glaze for drizzling
Instructions
Step 1: Marinate and Cook
Mix garlic, paprika, oregano, olive oil, salt, and pepper. Marinate chicken for 30 minutes.
Pan-Sear: Golden perfection in a skillet.
Grill: Smoky charm on the grill.
- Oven-Bake: Easy, hands-free cooking.
Step 2: Assemble Wraps
Layer tortilla with sauce, cheese, chicken, and optional veggies. Avoid overstuffing, fold tightly, and toast for a crispy finish.
Step 3: Toast or Bake
Toast: Heat in a skillet until golden.
- Bake: 375°F for 10-12 minutes for crispy wraps.
Notes
Avoid overstuffing to prevent messy disasters.
Fold tightly and secure with a toothpick if needed.
Toast lightly for a crispy, golden finish.
- Prep Time: 15 minutes
- Cook Time: 15 minutes
- Category: Main Dish
- Method: grilling
- Cuisine: American
Nutrition
- Serving Size: 1 wrap
- Calories: 400
- Sugar: 2g
- Sodium: 800g
- Fat: 18g
- Saturated Fat: 6g
- Unsaturated Fat: 10g
- Trans Fat: 0g
- Carbohydrates: 35g
- Fiber: 4g
- Protein: 30g
- Cholesterol: 75mg
Keywords: Garlic Chicken wraps, Cheesy Garlic Chicken Wraps recipe
